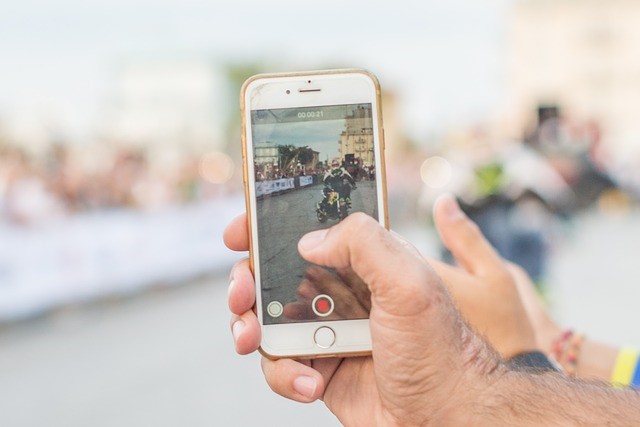
Screen recorder has made its way into iPhones with the iOS 11 update. You do not need to download any third-party apps to get you started. The screen recording functionality is pre-installed in iOS, which means you can use the record screen feature on both iPhone and iPad.There are many reasons when you need to record your phone’s screen.
For example, reporting bugs in an app to the developer or sharing a review video in the App Store for a particular application and showing how exactly it works in real-life. You can even share screen records with your family or friends who need an introduction to “how to get things done” on an iPhone. Here are some tips to help you with recording your iPhone screen.
Setup Screen Record via Control Centre
- Launch Settings
- Scroll down and tap on Control Centre
- Select Customise Controls
- Make sure Screen Recording is in your “Include” list
- If not scroll down to find Screen Recording
- Tap the (+) sign next to Screen Recording
How to record screen videos and where can one find the video afterwards?
- Swipe Up from the Home Screen to launch Control Centre
- Hard press on the Screen Recording logo to open its settings
- iOS gives you the option to share screen recordings directly to supported third-party apps. Photos will be the default selection for saving screen recording videos. You can select a third-party app, and if it is supported, its name would be displayed below Photos. Make your selection and your recordings will be saved directly to the one you have selected.
- Choose if you want to include your voice during recordings by tapping the Microphone logo On or Off.
- Once you are ready, tap the Screen Recording button from the Control Centre.
- Before recordings start, you will be given three seconds before it begins
- A continuous Red colour bar will be displayed on top of the screen to warn you Screen Recordings is in progress.
- Once you are done, tap on the Red colour bar and select Stop to save your recordings.
- A notification will be displayed informing you where the video has been saved.
Some tips to help you record iPhone screen
Remember, while creating a screen recording video, you give access to recording everything that is happening on your screen. Whoever or wherever you share, they will be able to see your Wallpaper, apps on your home screen, and notifications that you receive while recording. It is advisable not to share private contents or type personal information while recording. The following tips can assist you to avoid embarrassing situations.
- Change your Wallpaper While recording for professional or public use. It is recommended to change your Wallpaper from a personal photo to any pre-installed wallpaper on the iPhone. You can do this by tapping on Settings > Scroll down to Wallpaper > Choose a New Wallpaper > As per your preference you can choose Dynamic, Stills or Live wallpapers > Once you have made your selection, tap Set > You can select Set Lock Screen, Set Home Screen or Set Both.
- Enable Do Not Disturb Continuous notifications popping-up on your screen can be a hassle. Turning off individual app notifications is a long process and turning them back on is equally time-consuming. To avoid receiving messages or other third-party notifications turn on the Do Not Disturb mode. Open Settings > Do Not Disturb > Under the Silence menu select Always > Toggle On Do Not Disturb.
- Lock Orientation If you are recording in Portrait Mode, you could accidentally tilt your phone, and the screen can shift to Landscape Mode. To avoid this, consider locking orientation. Swipe up Control Centre > Tap the Lock Icon with a Circle around it to enable Portrait Lock.
- Create a new Home Page To avoid displaying a sea of apps on your Home screen, or you wish to highlight only a single app in the video, create a new page. Hard press any application and select Edit Home Screen form the pop-up menu to enable jiggle mode. Select the app you want to highlight and move it to a new page.
- Record in a silent environment If you are going to use your voice for comments during the video, record it in a quiet environment. By doing so, you can avoid background noise that can be a nuisance for the viewers and an unnecessary inconvenience.
- Edit your video before sharing Use the editing features from the Photos app for creating a more professional-looking video. Trim the beginning and the ending to avoid including your Control Centre gestures for starting and stopping the Screen Recorder.
- Write a script Want a more professional look? Begin with writing a script for your video if you are going to create an explanatory video or add your comments. A written material script will aid while recording and can help you steer clear of fumbling during the video.
I hope the tips, as mentioned earlier, help. If you have some tricks of your own, add them to the comments section, it would be interesting to learn something new.
